In today's fast-paced development world, bridging the gap between design and code efficiently is paramount. Developers often spend valuable time translating pixel-perfect Figma designs into functional code. What if you could dramatically accelerate this process?
Enter Cursor, an AI-powered code editor that, when integrated with Figma, can directly generate code from your design selections. This guide will walk you through every step, from setting up your Figma API token to configuring Cursor and generating your first lines of code from a Figma link.
Let's dive in and revolutionize your design-to-code workflow!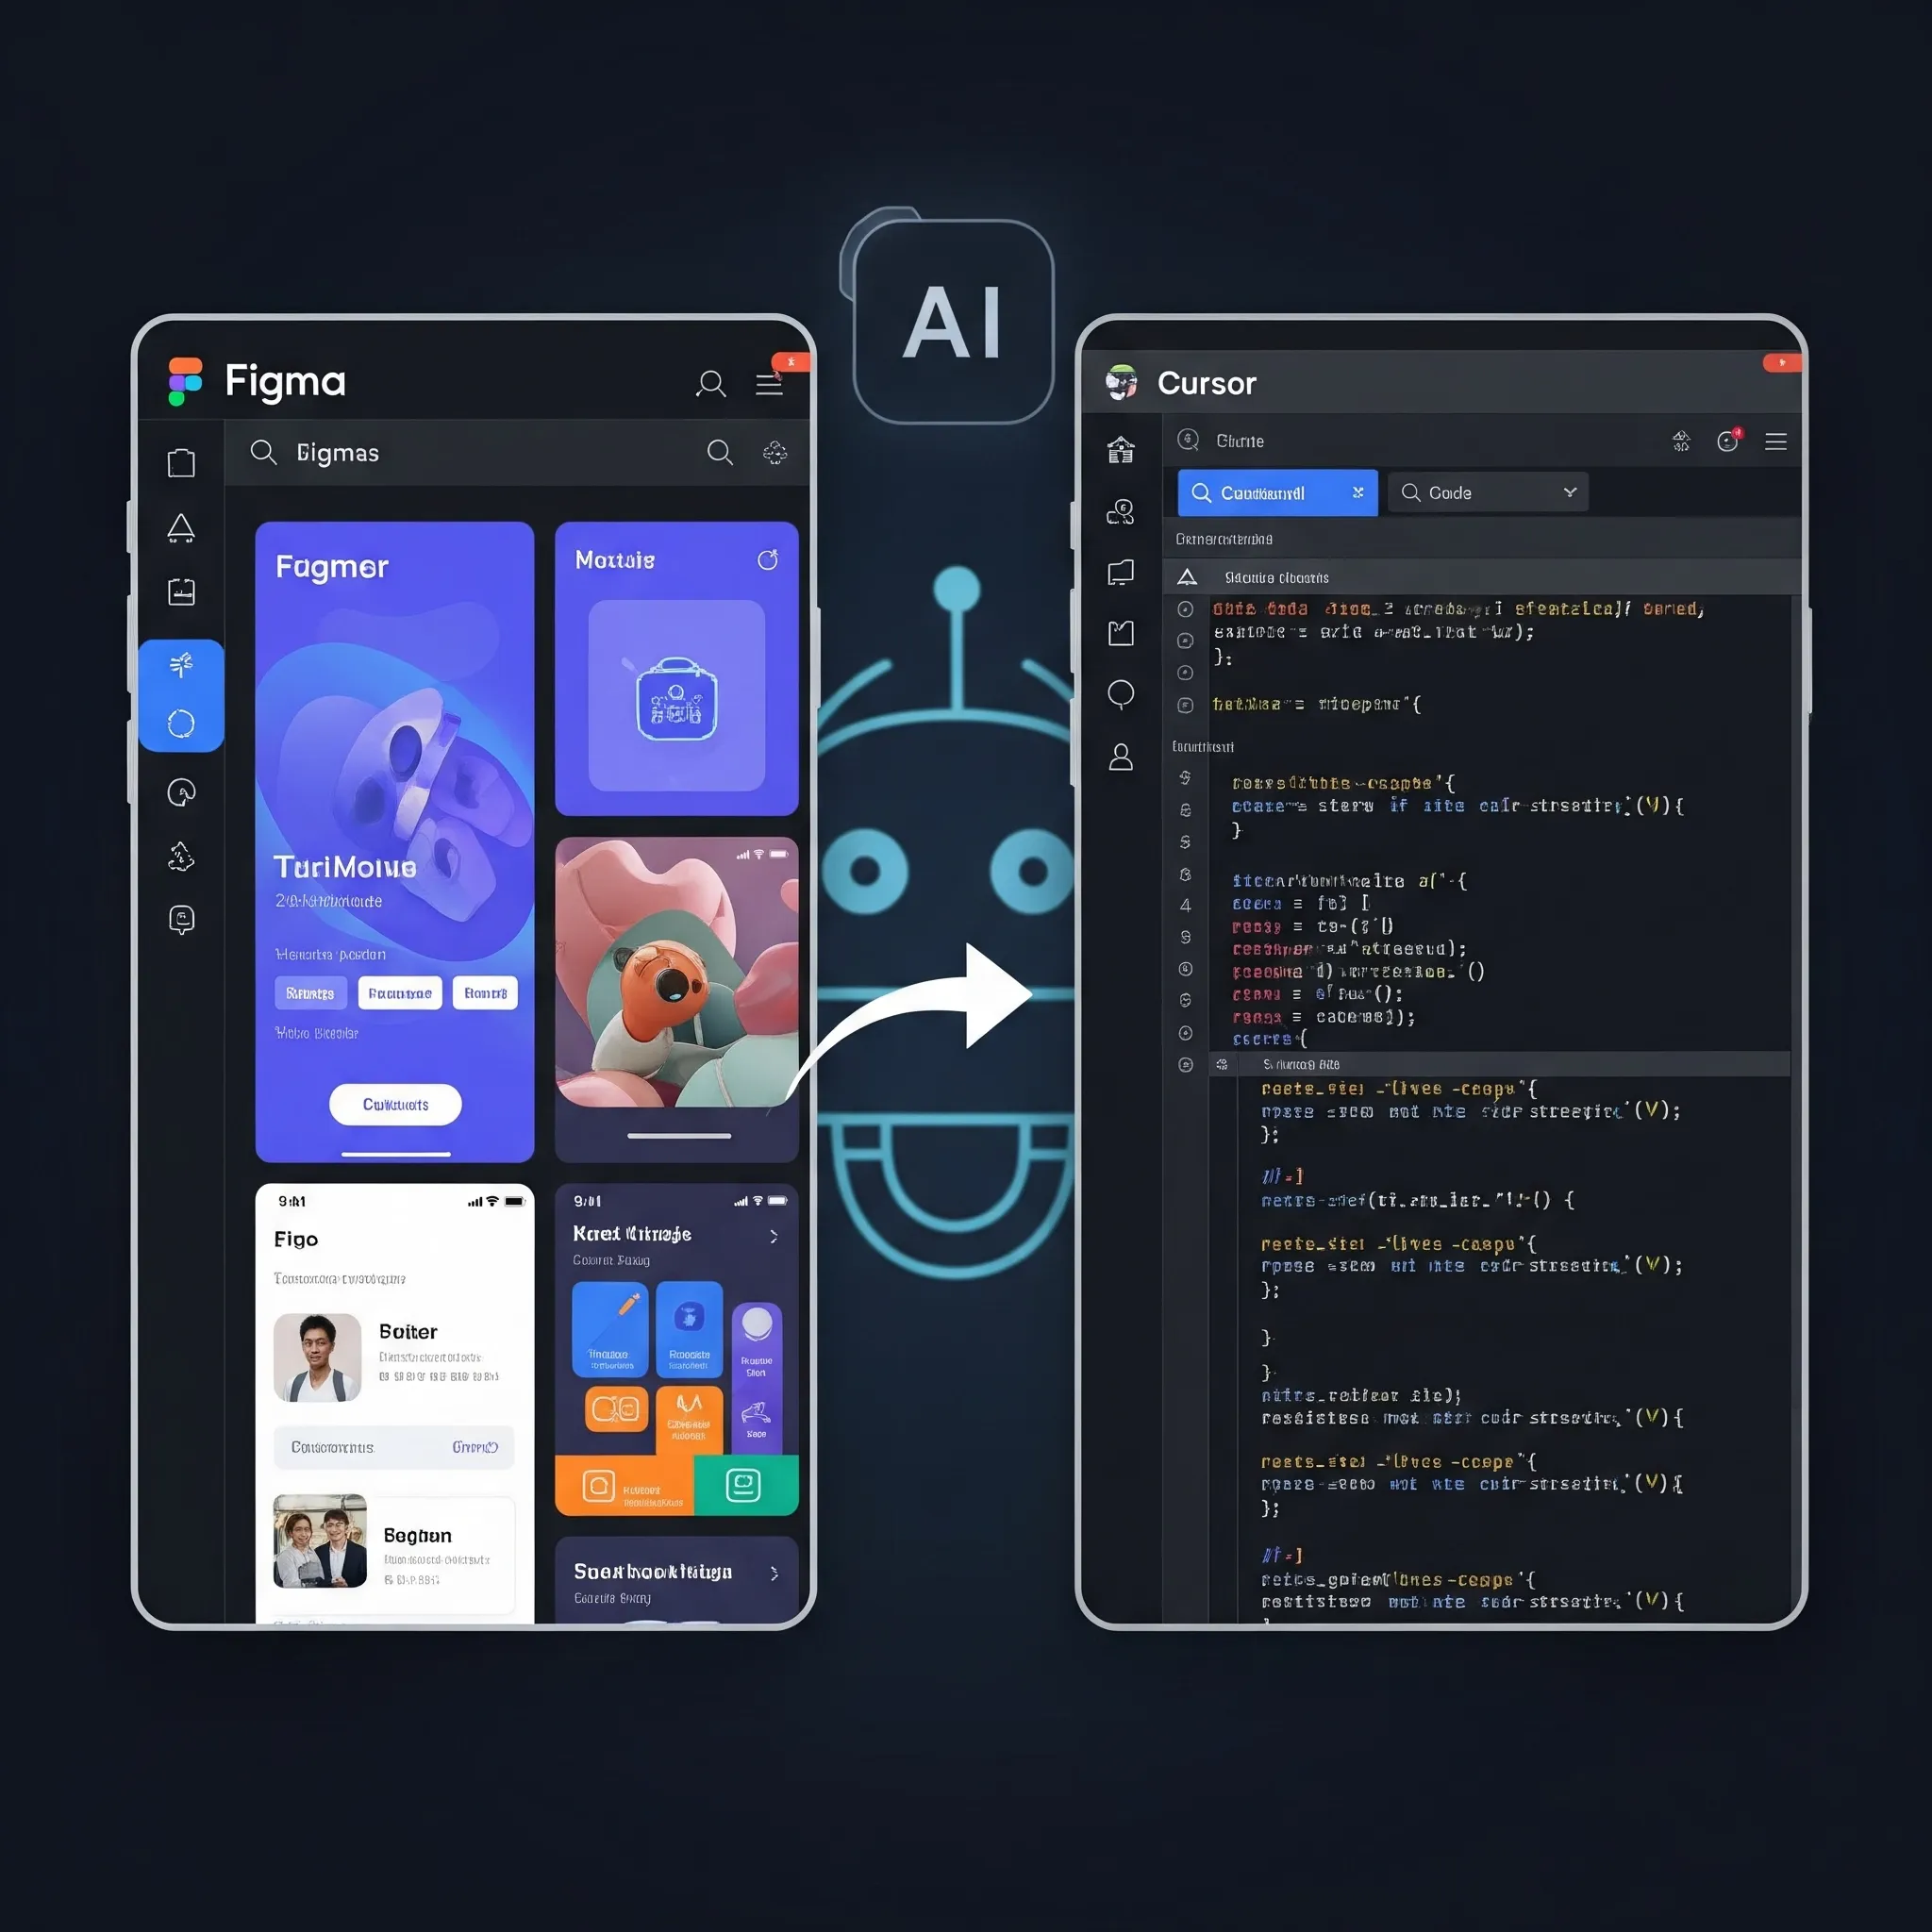
Step 1: Secure Your Figma API Access Token
To enable Cursor to interpret your Figma designs intelligently, you first need to grant it secure access. This is done by generating a personal access token within Figma.
- Navigate to Figma: Open your browser and head over to Figma
figma.com
- Access User Profile: Once logged in, click on your user profile icon, typically located at the top-left of the Figma interface.
- Open Settings: From the dropdown menu, select Settings.
- Go to Security: Within the Settings page, click on the Security tab.
- Initiate Token Generation: Scroll down to the "Personal Access Tokens" section and click the Generate new token button.
- Set Permissions to Read-only: In the token generation dialog, locate the "File Content" permission. Change its access level from "No Access" to Read-only. This ensures Cursor can only read your design data, not modify it.
Generate & Copy: Click Generate token. Crucially, copy this token immediately as it will not be displayed again for security reasons. Keep it safe!
Step 2: Configure Cursor with the Figma MCP Server
Now that you have your Figma access key, it's time to teach Cursor how to use it. This involves adding a custom MCP (Model-Client Protocol) server configuration within Cursor's settings.
Launch Cursor: Open your Cursor project where you intend to generate code.
Open Command Palette: On a Mac, press
CMD + Shift + Pto bring up the Command Palette.Access Cursor Settings: Type "Cursor Settings" into the Command Palette and select the relevant option to open your Cursor configuration.
Locate MCP Settings: Within the Cursor Settings, navigate to the MCP (Model-Client Protocol) section.
Add New Global Server: Click on Add New Global MCP Server.
Paste Configuration: Carefully paste the following JSON configuration into the designated area.
{
  "mcpServers": {
    "Framelink Figma MCP": {
      "command": "npx",
      "args": [
        "-y",
        "figma-developer-mcp",
        "--figma-api-key=",
        "--stdio"
      ]
    }
  }
}
Insert Your Figma API Key: Find
"--figma-api-key="in the code you just pasted. Immediately after the equals sign (=PasteYour copied Figma API access token.Example (replace
YOUR_FIGMA_API_KEYwith your actual token):Save Your Changes: Don't forget to save the Cursor settings to apply your new configuration.
Step 3: Generate Code from Figma Designs in Cursor Chat
You're now ready for the magic! With your setup complete, generating code from Figma is a breeze.
Copy Figma Node Link:
- Open your Figma design file.
- Select the specific frame, group, or layer you want to convert into code.
- Right-click on your selected element and choose Copy/Paste as > Copy link to selection. This gives you a direct link to that specific design "node."
Paste Link in Cursor Chat:
- Switch back to Cursor.
- Open the Cursor chat by pressing
CMD + I. - Paste the copied Figma node link into the chat input field.
Instruct Cursor for Figma Node Retrieval: This is a crucial step! To tell Cursor to process the Figma link, you need to explicitly mention
"use get node for Figma"in your prompt. Combine this with your request for code generation.Example Chat Prompt:
"use get node for Figma" Generate a clean React component for this Figma design:[Your Pasted Figma Node Link Here]Witness Code Generation: Cursor will now take your Figma link, retrieve the design data using the configured MCP server, and generate the corresponding code in your project.
Conclusion
Integrating Figma with Cursor isn't just a convenience; it's a significant leap forward in developer productivity. By automating the translation of design elements into code, you can dedicate more time to complex logic, optimization, and innovation. Embrace this powerful workflow and streamline your design-to-code process today!